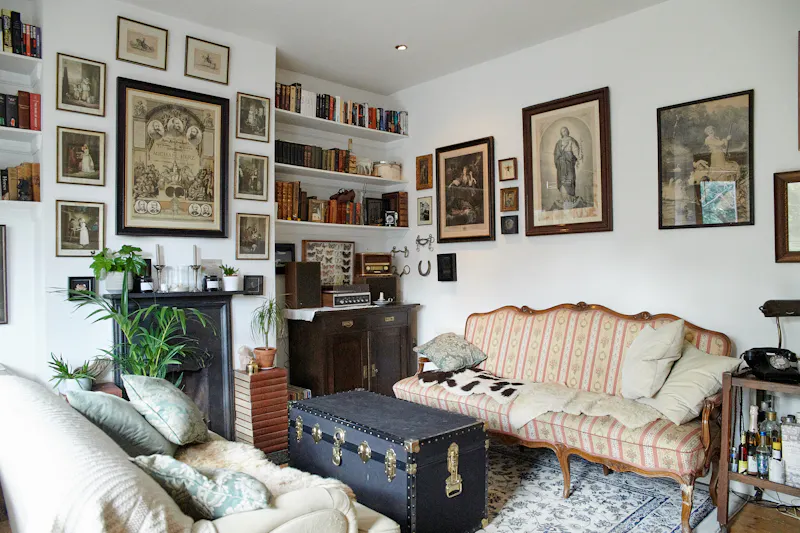
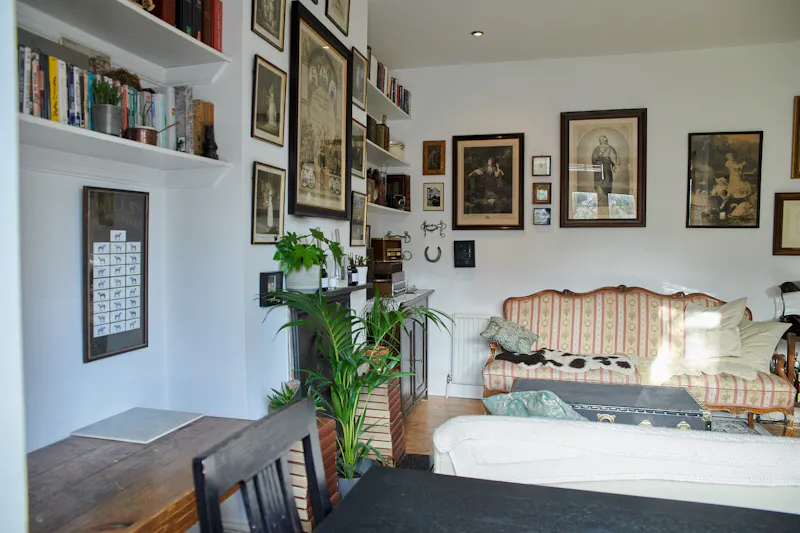
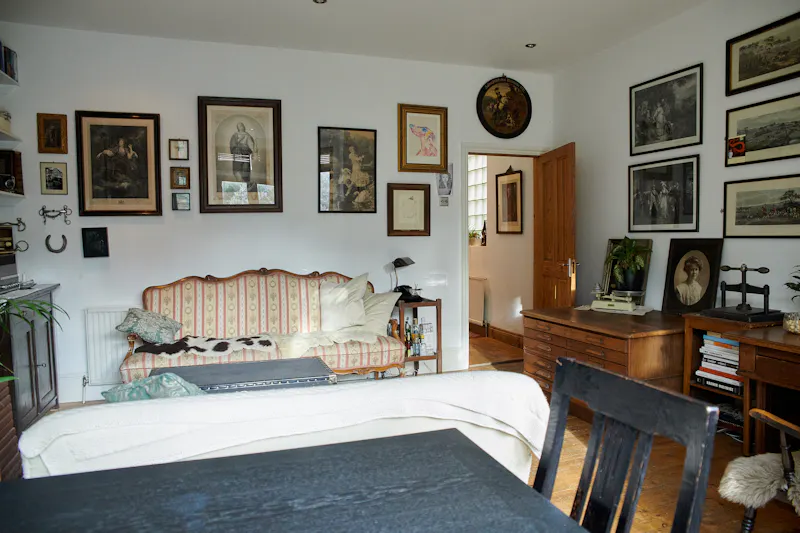
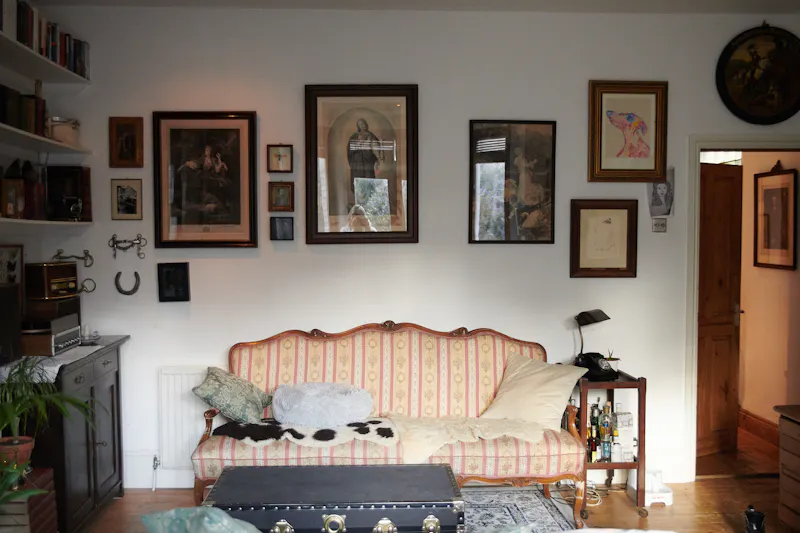
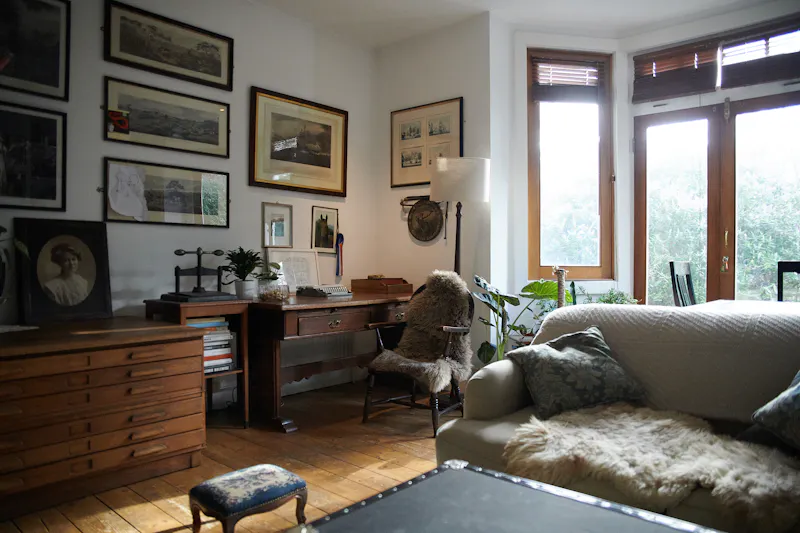
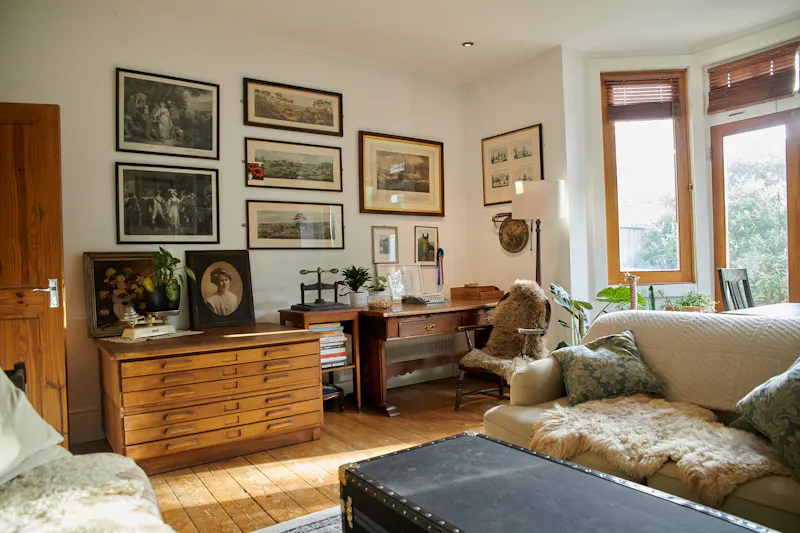
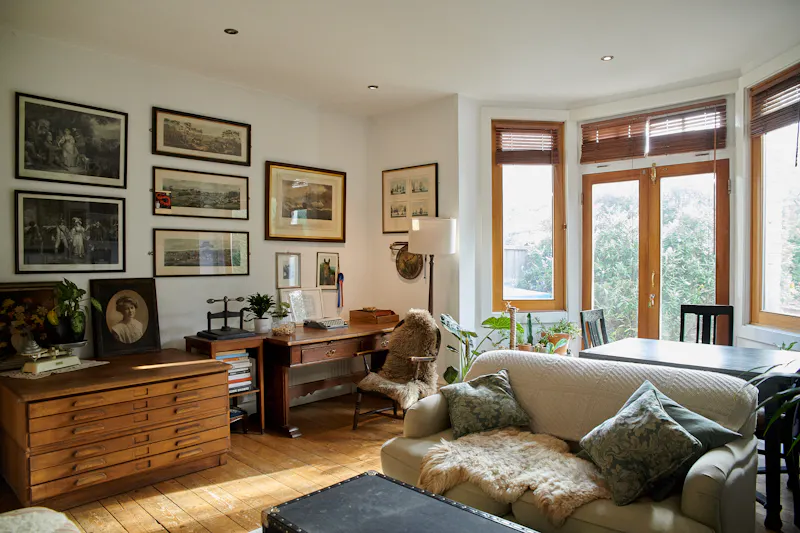
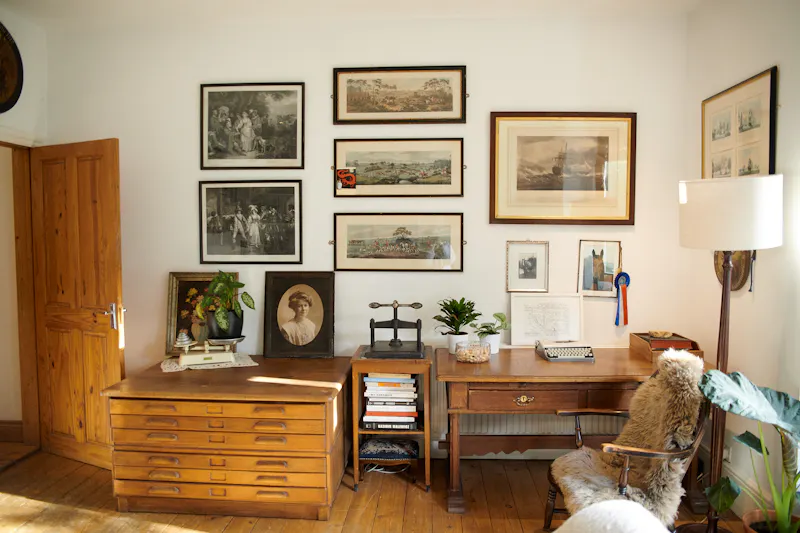
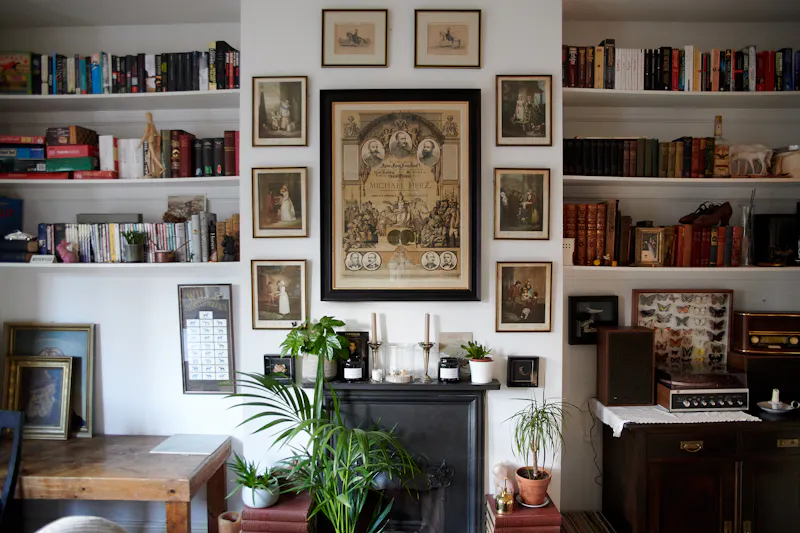
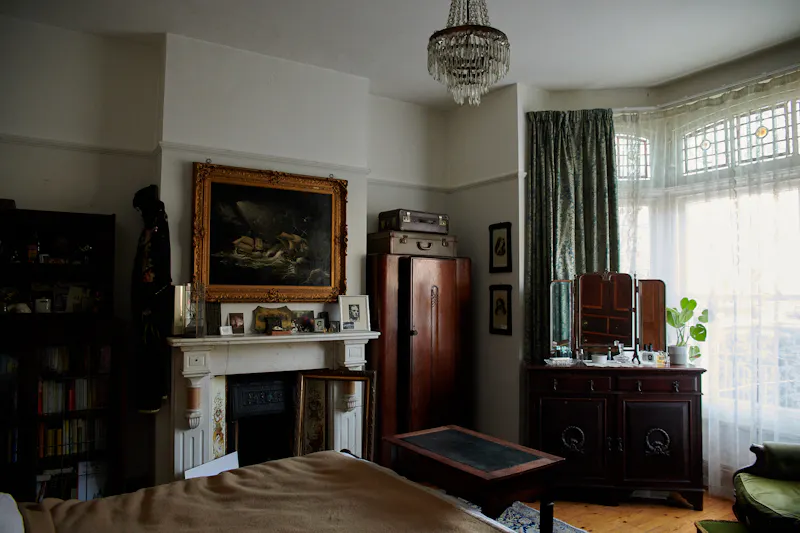
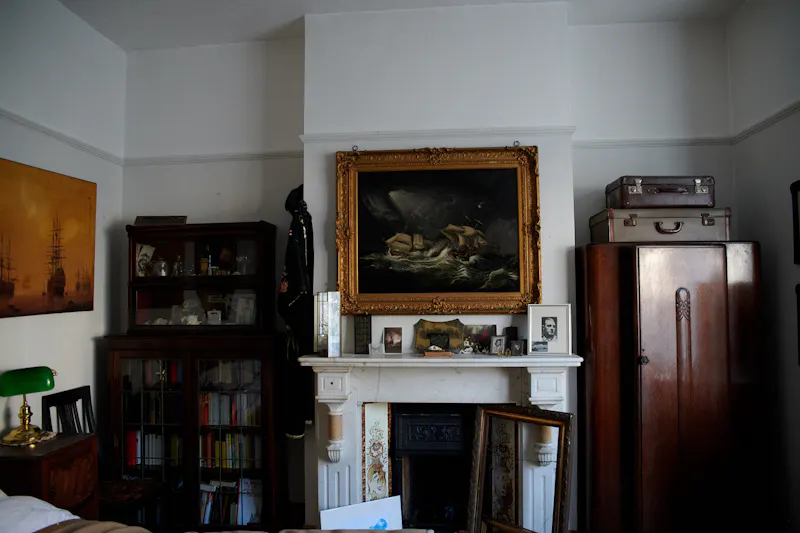
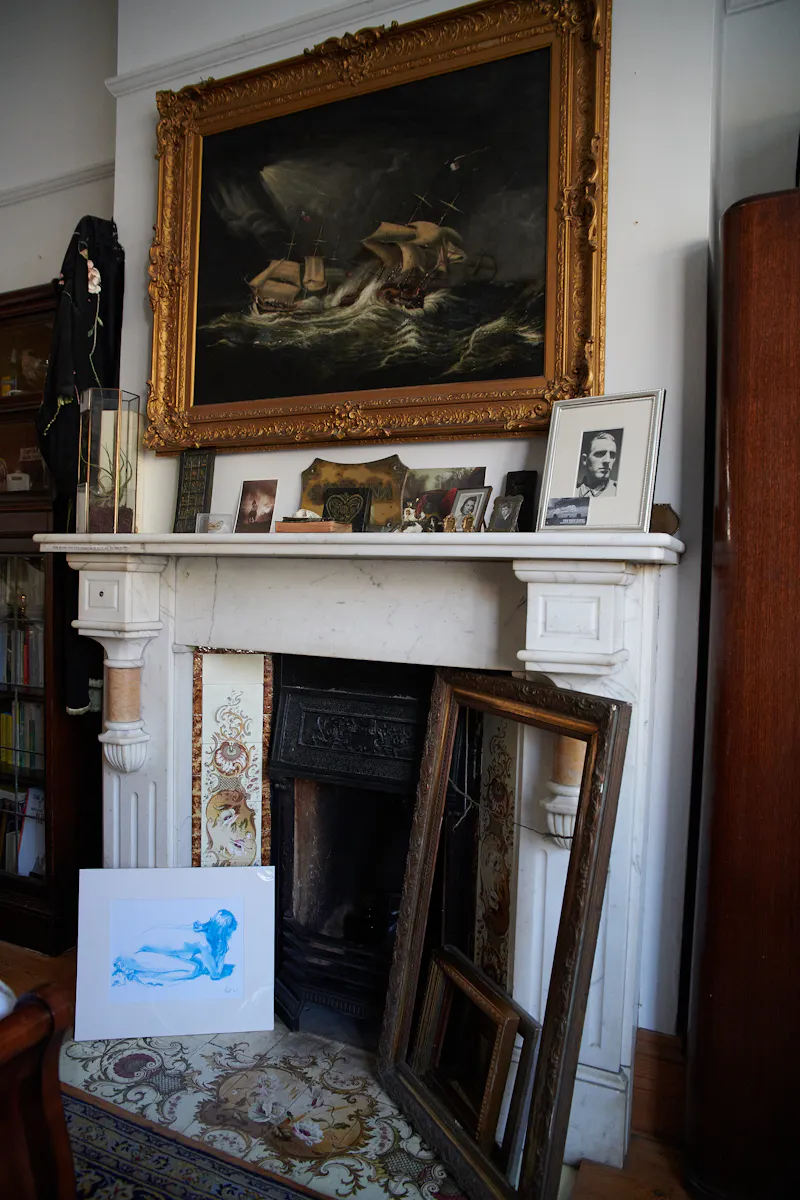
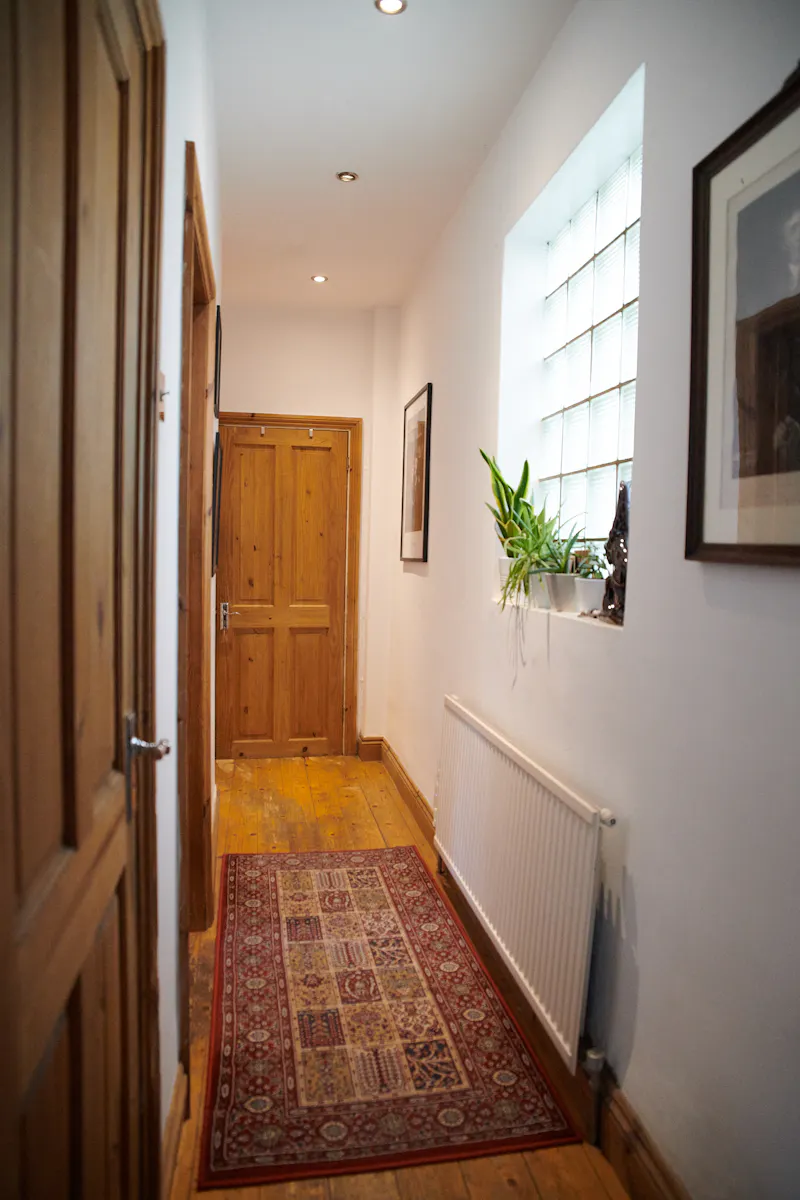
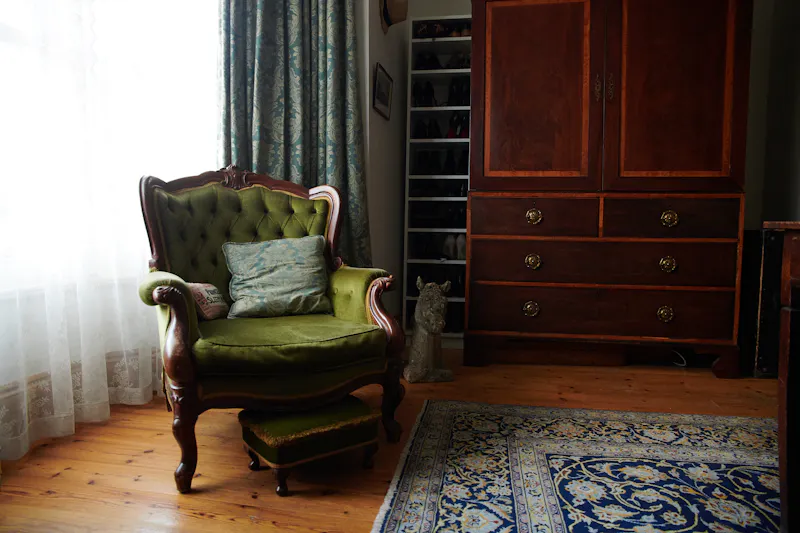
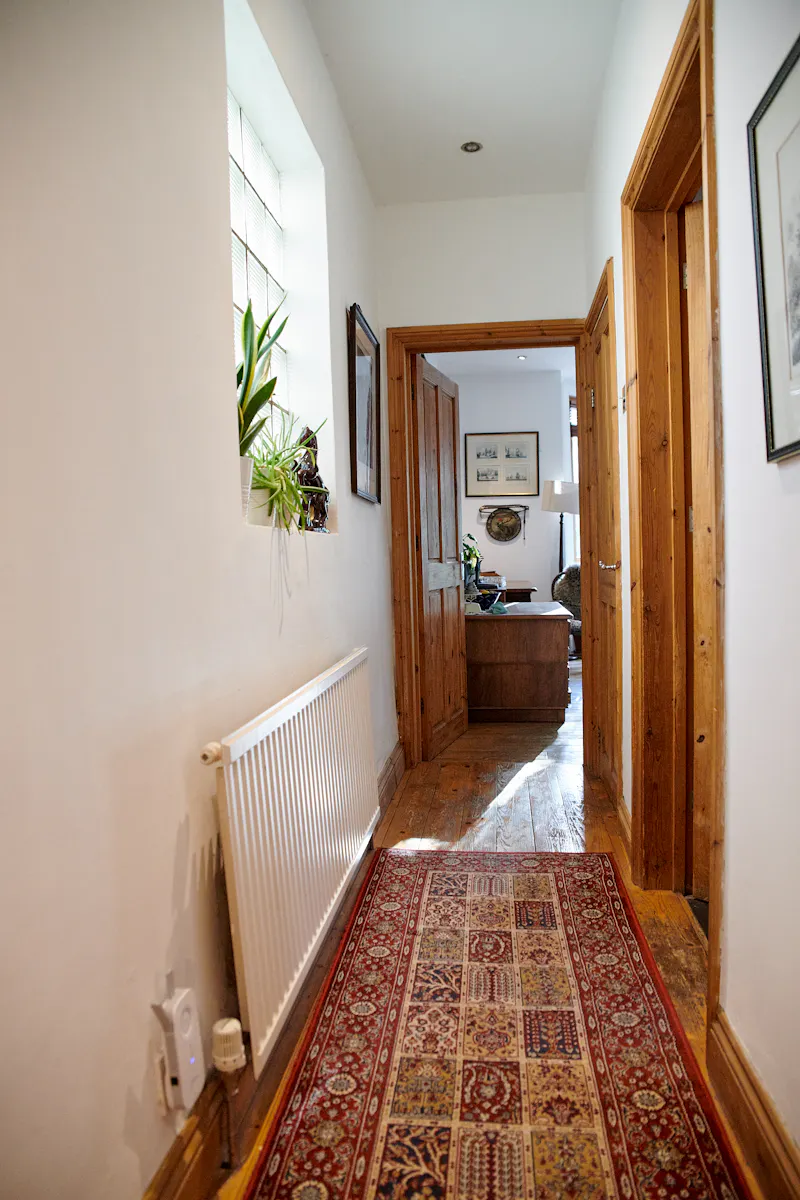
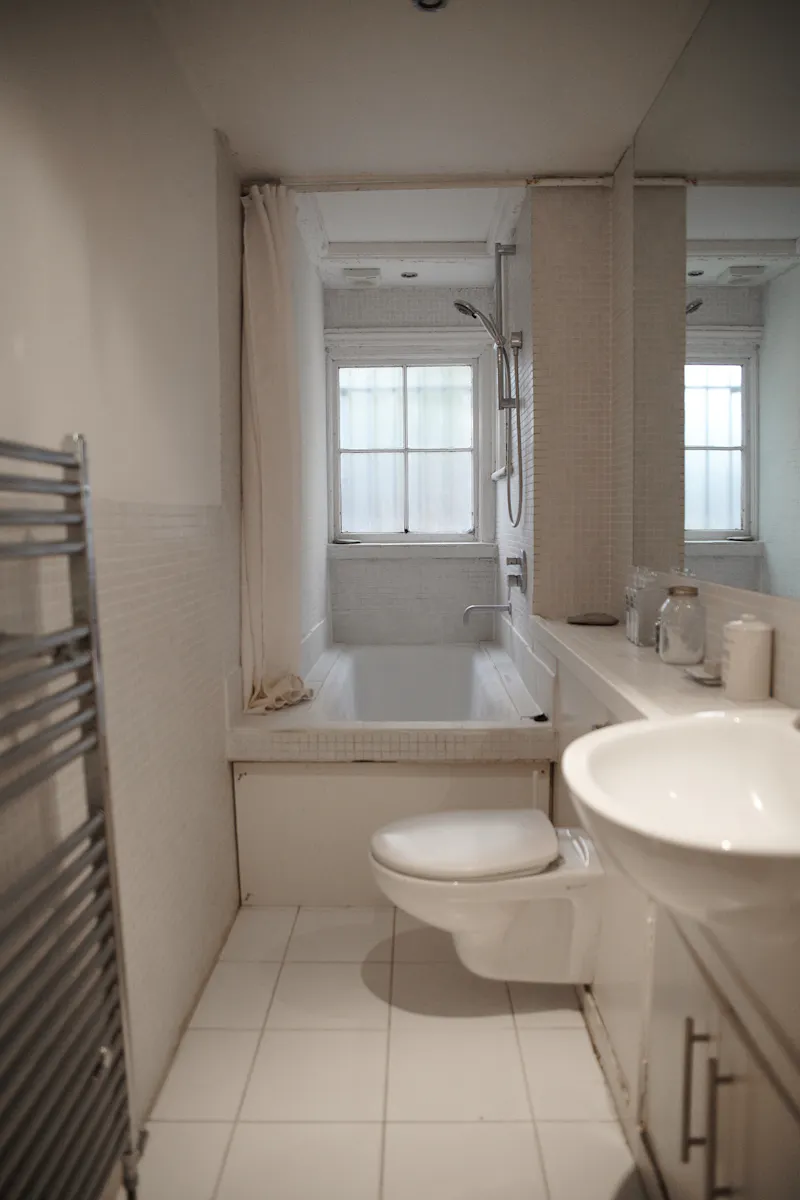
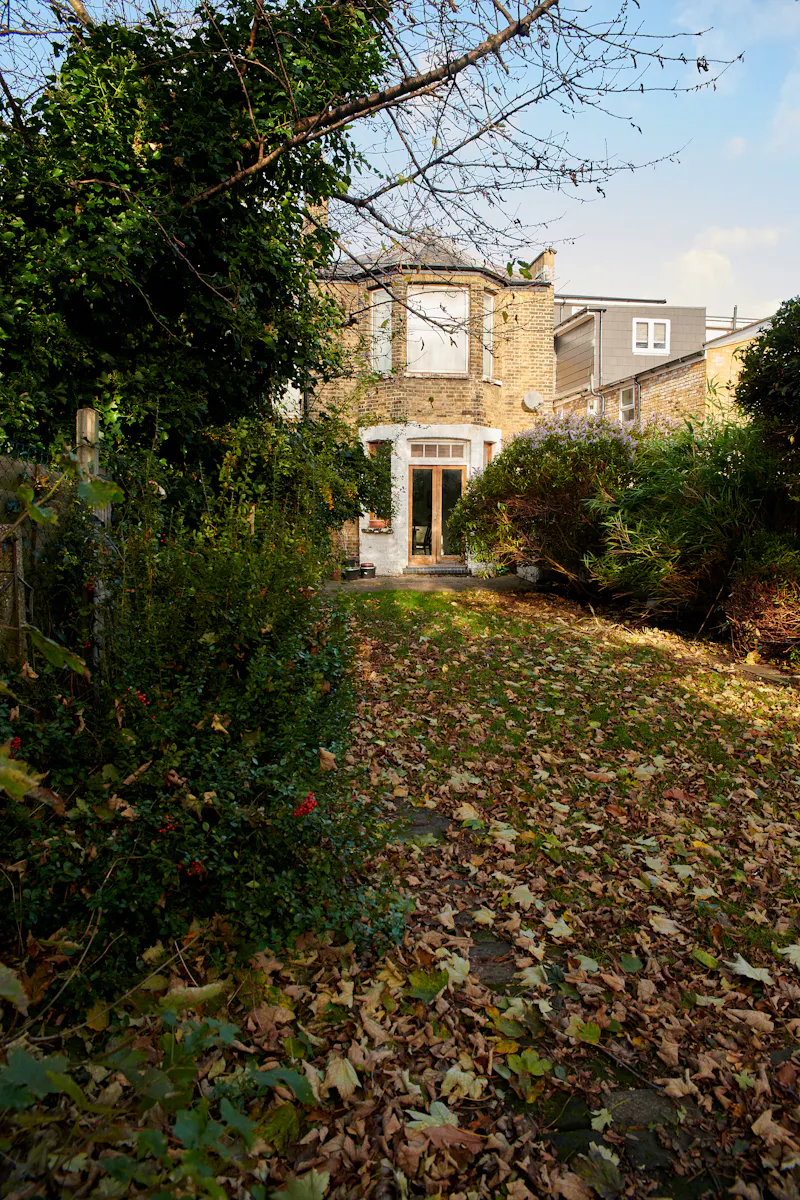
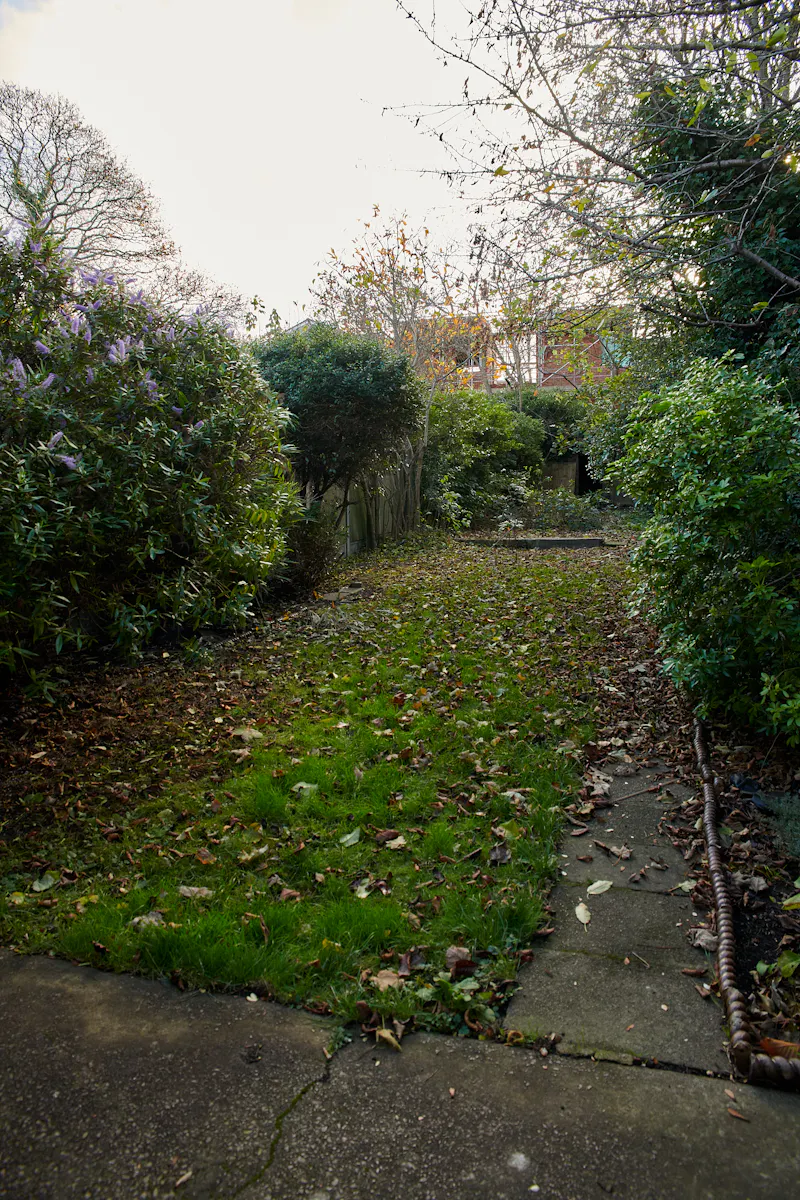
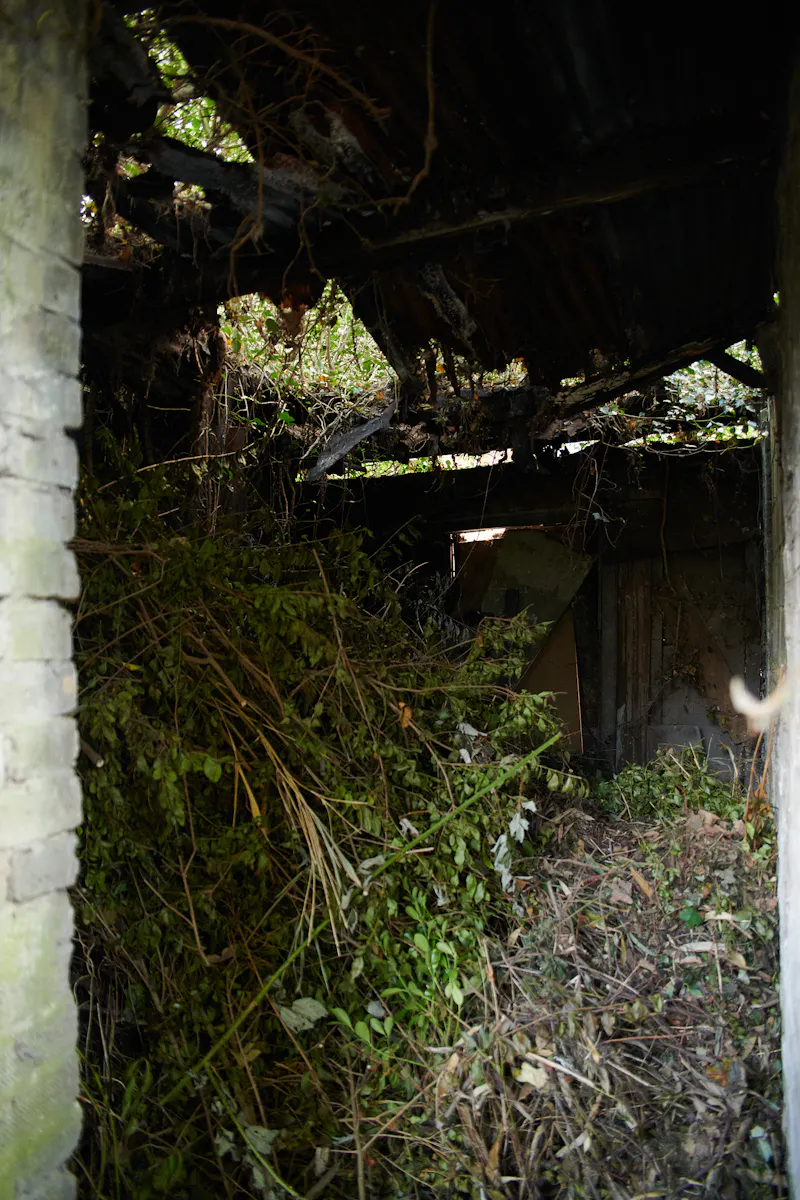
B1962 - Victorian flat in Forest Gate
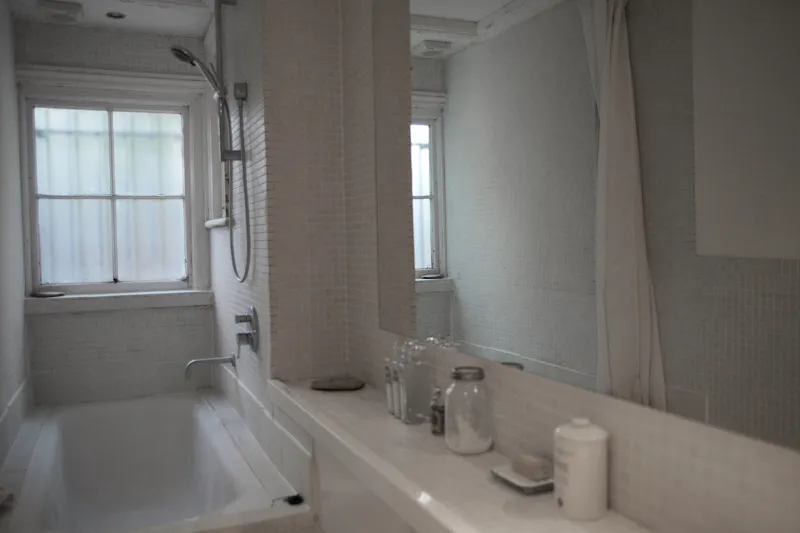
London E7

Location details
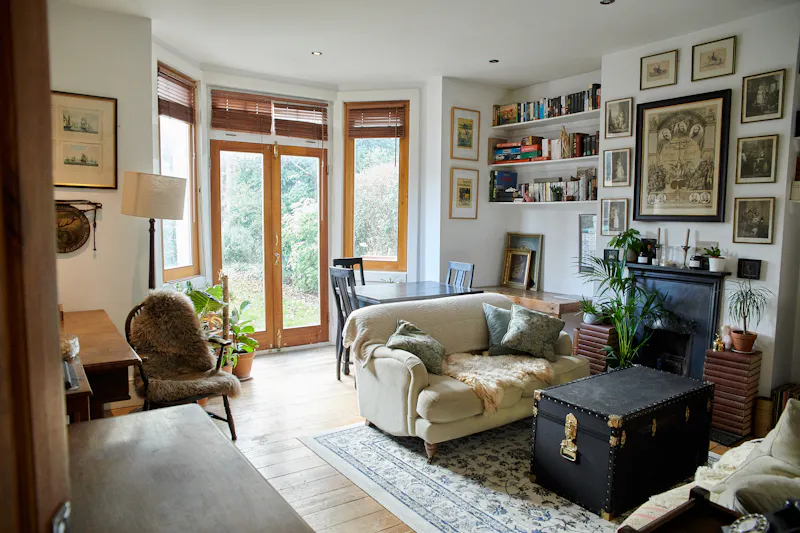
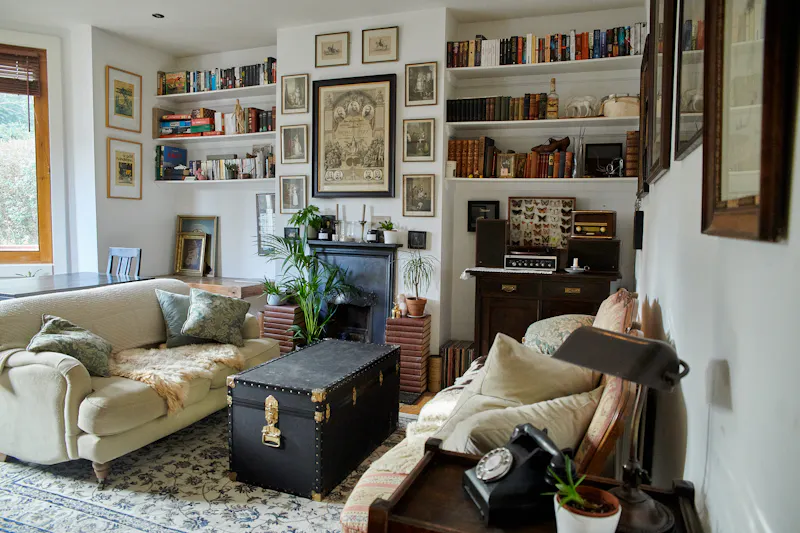
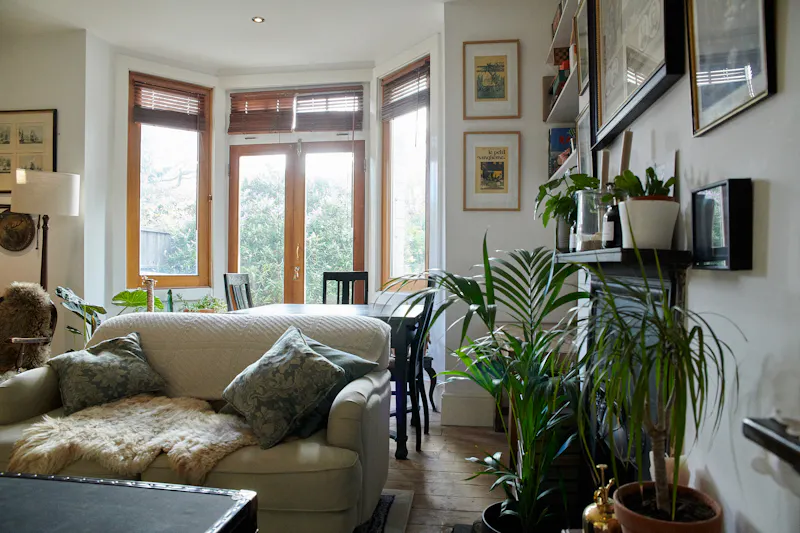
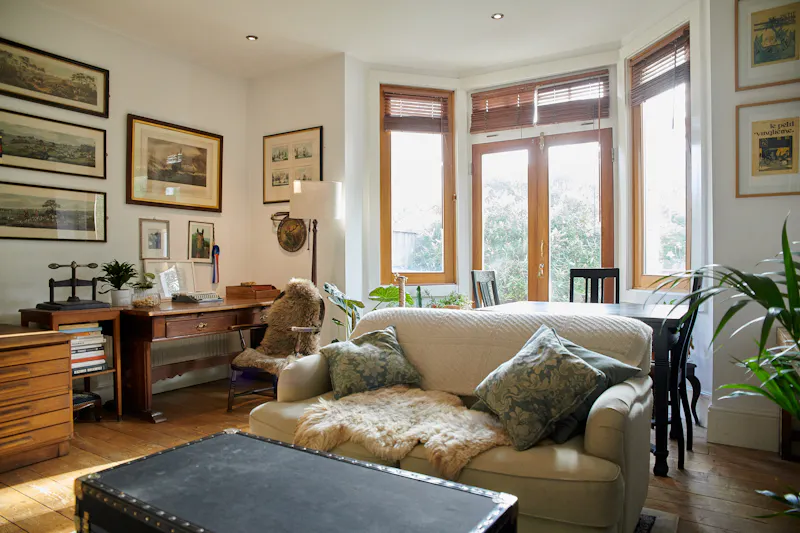
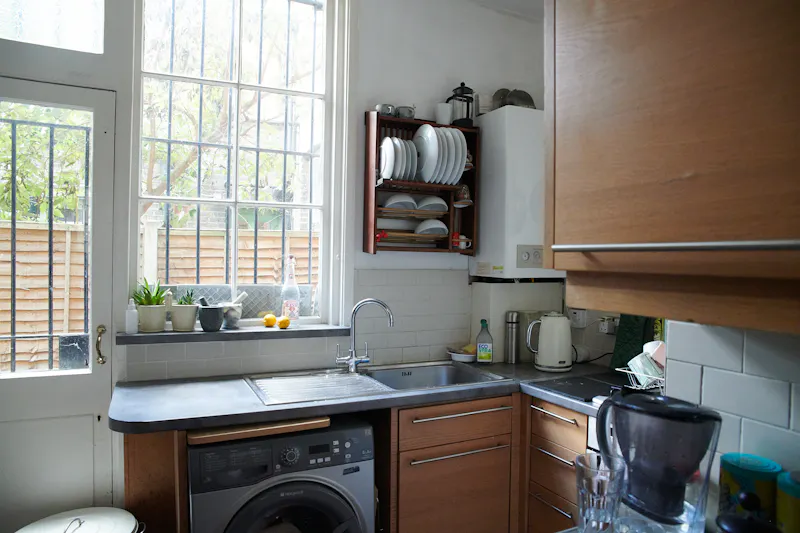
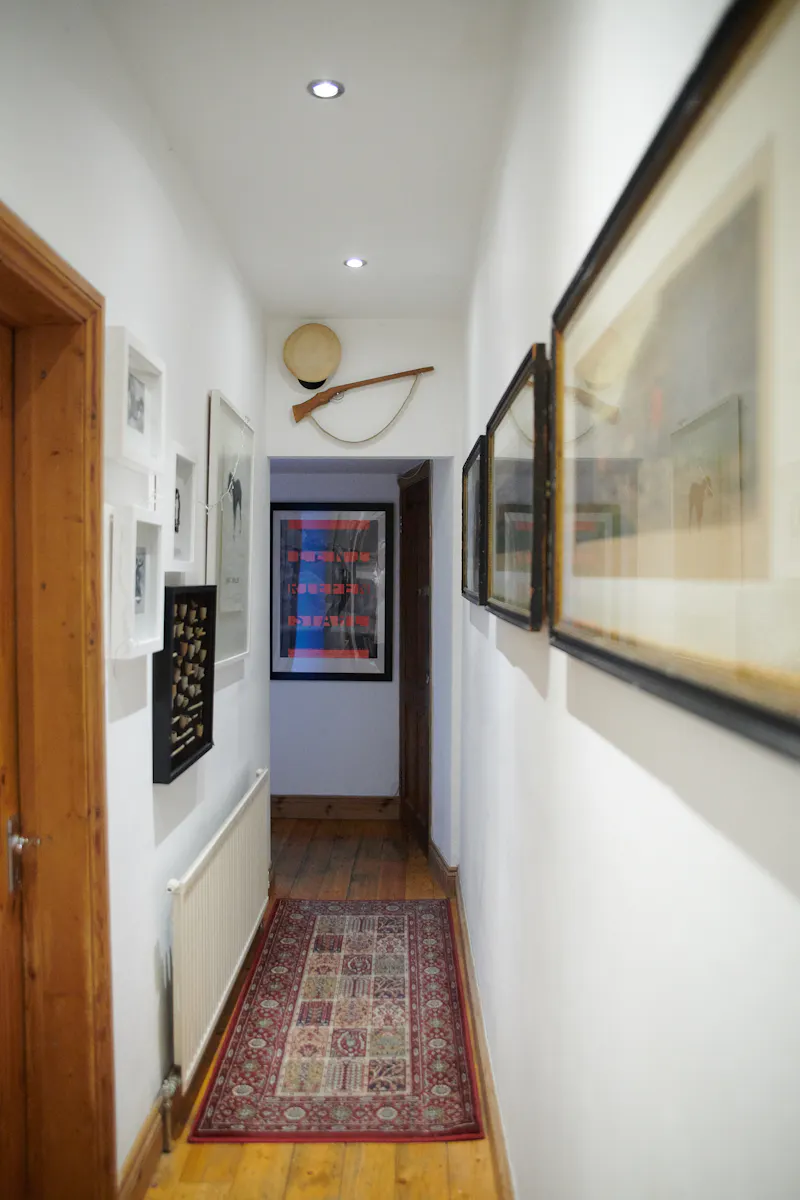
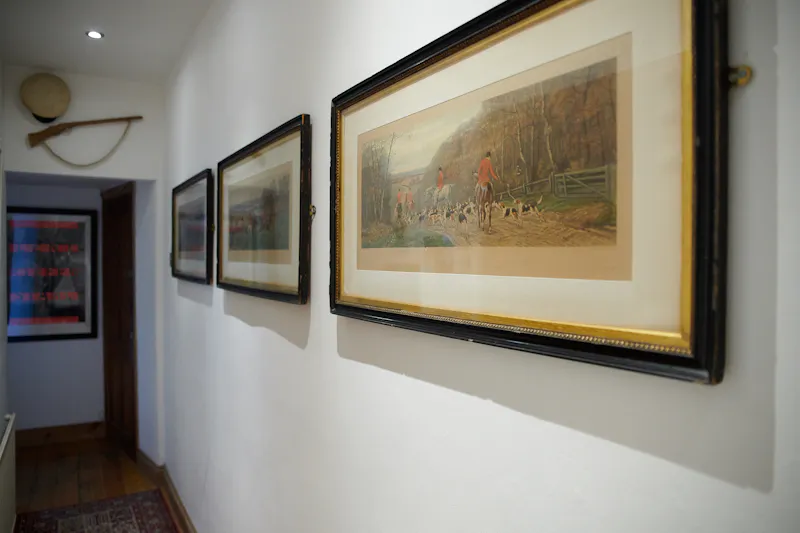
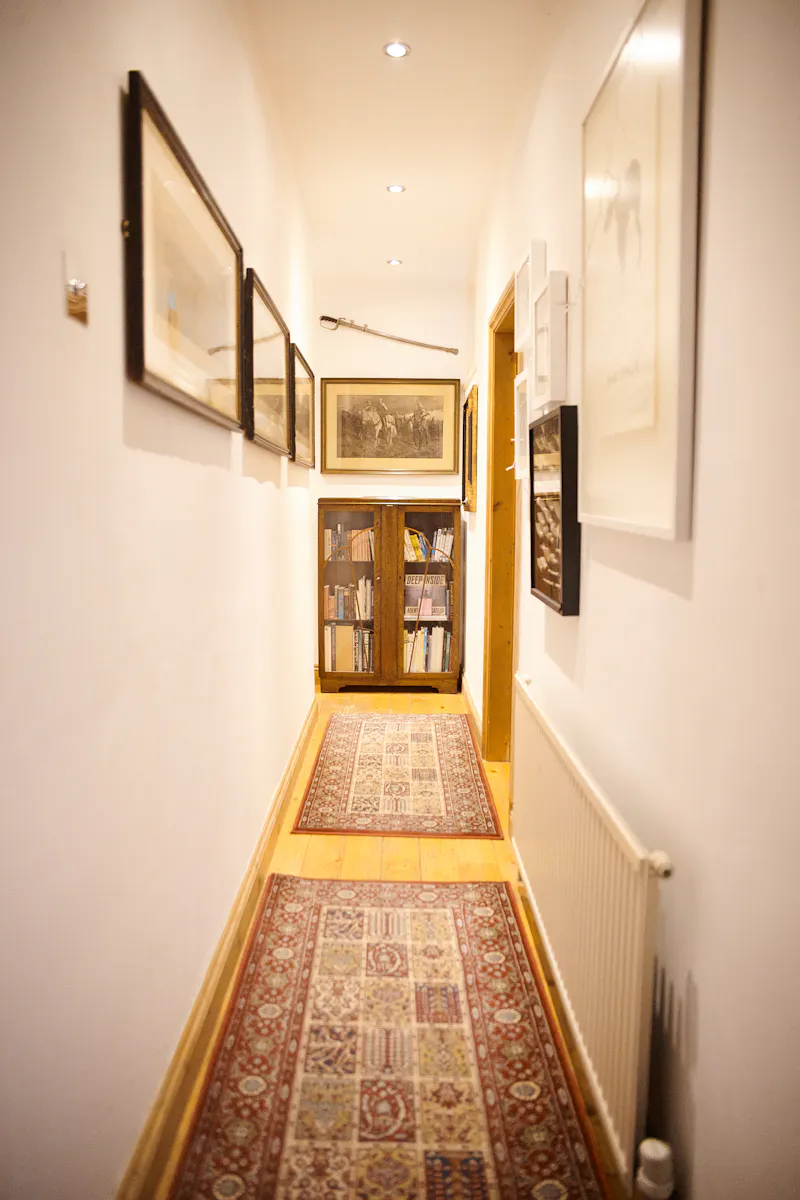
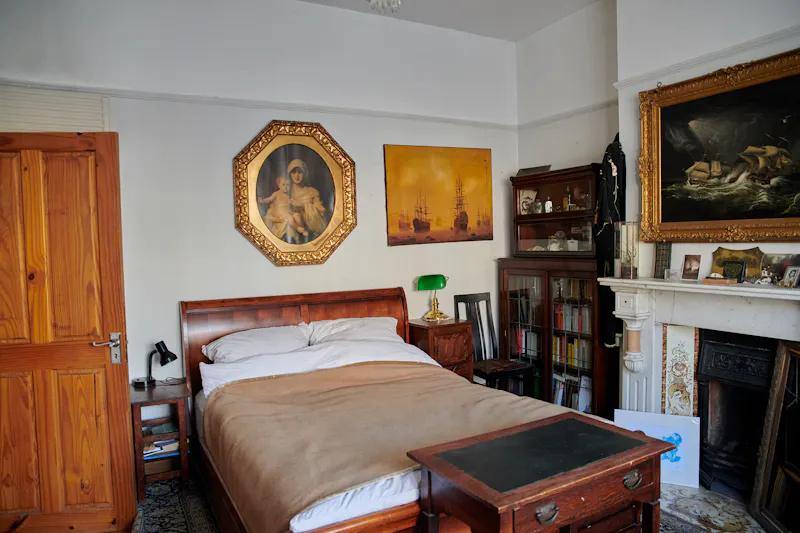
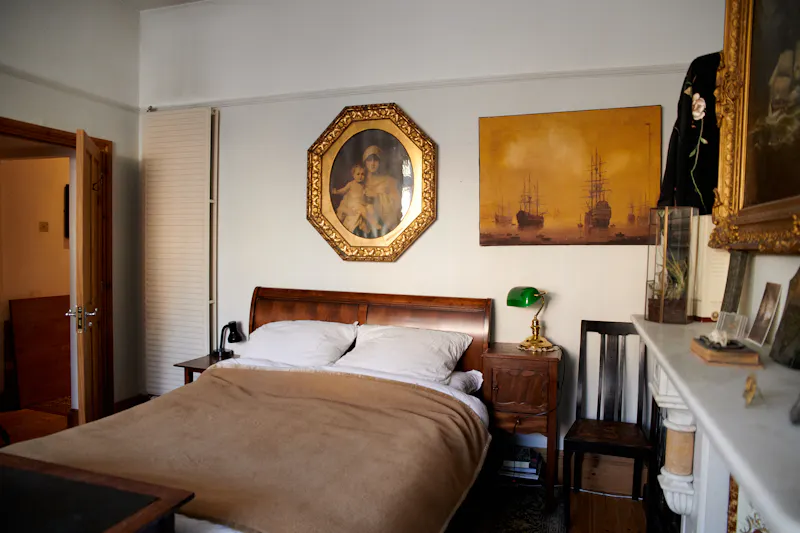
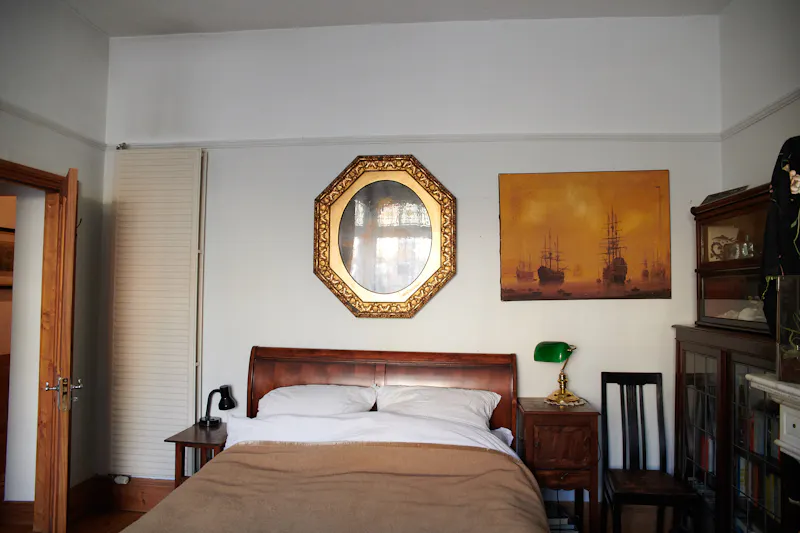
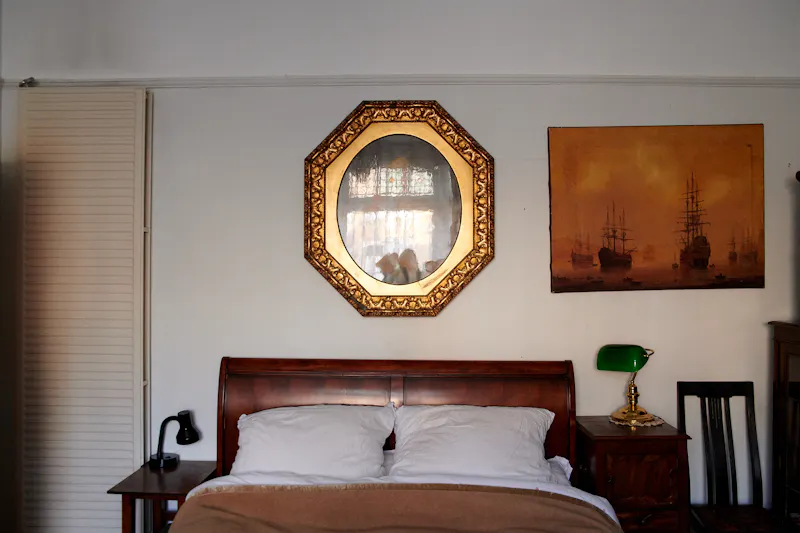
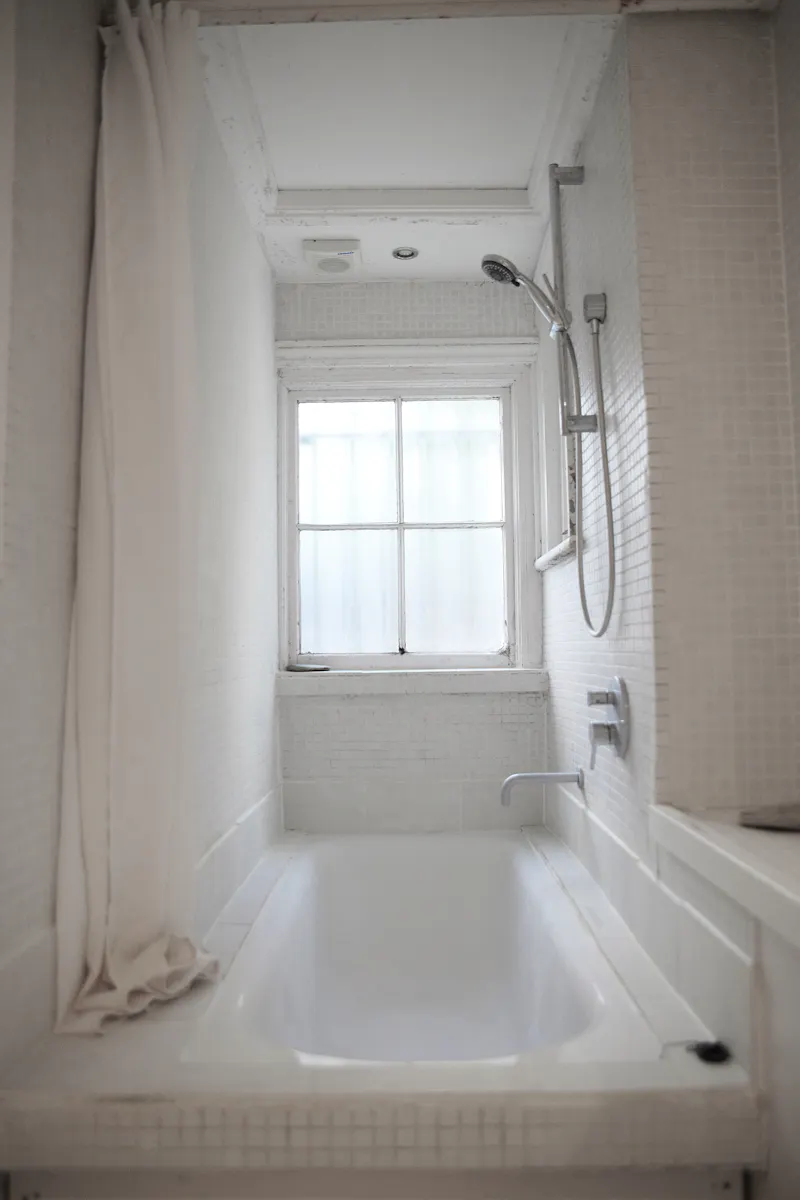
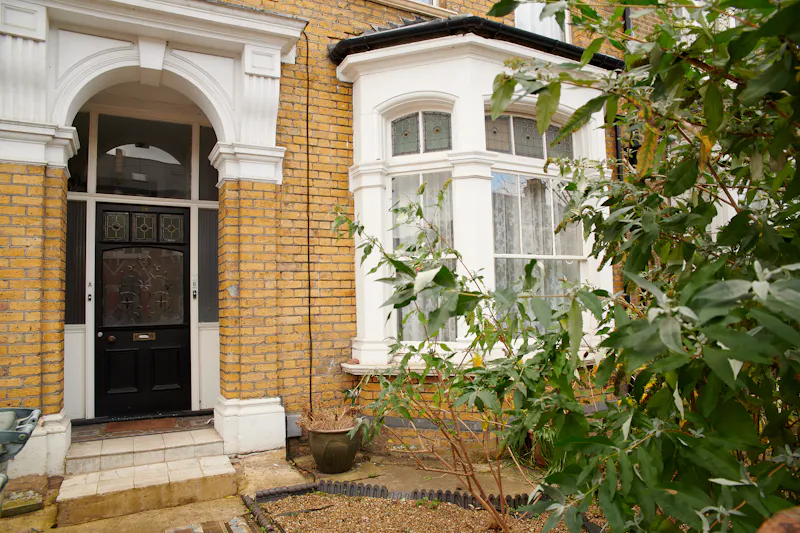
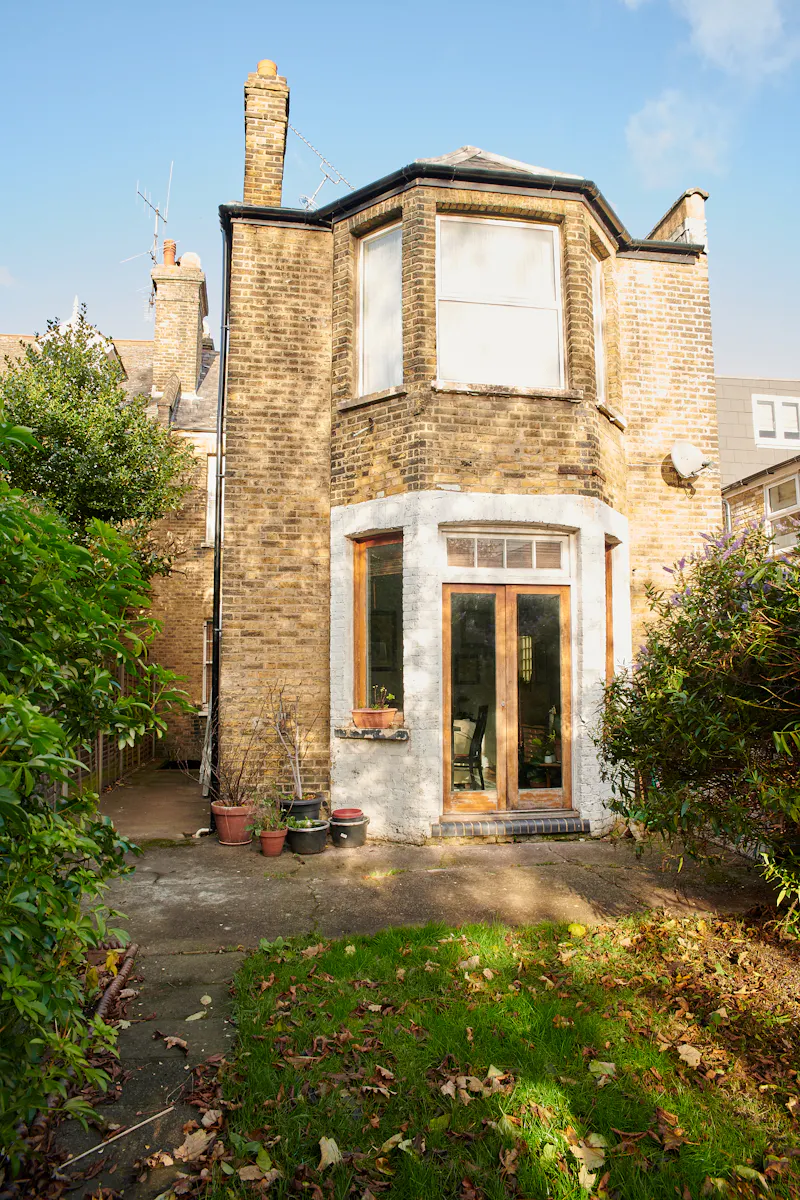
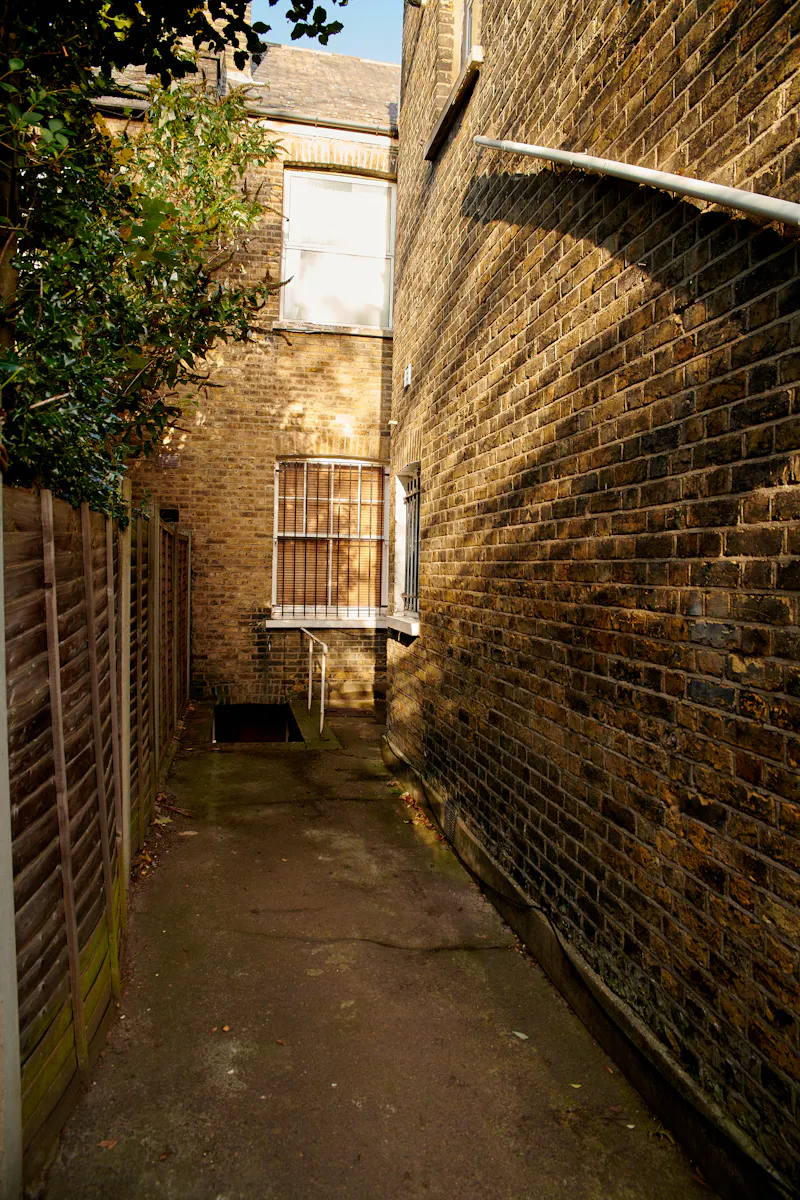
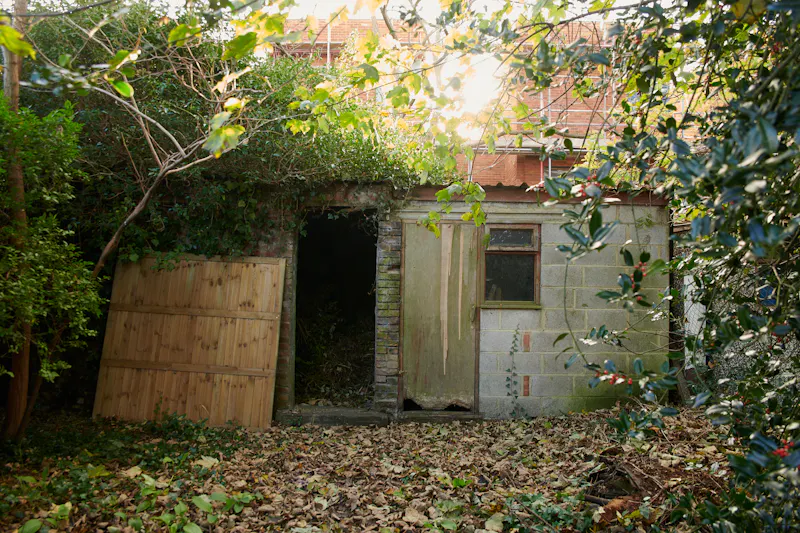
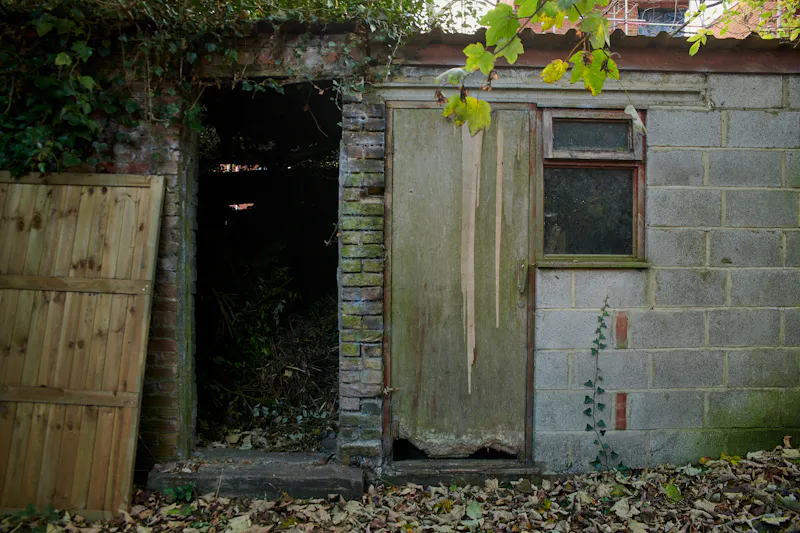
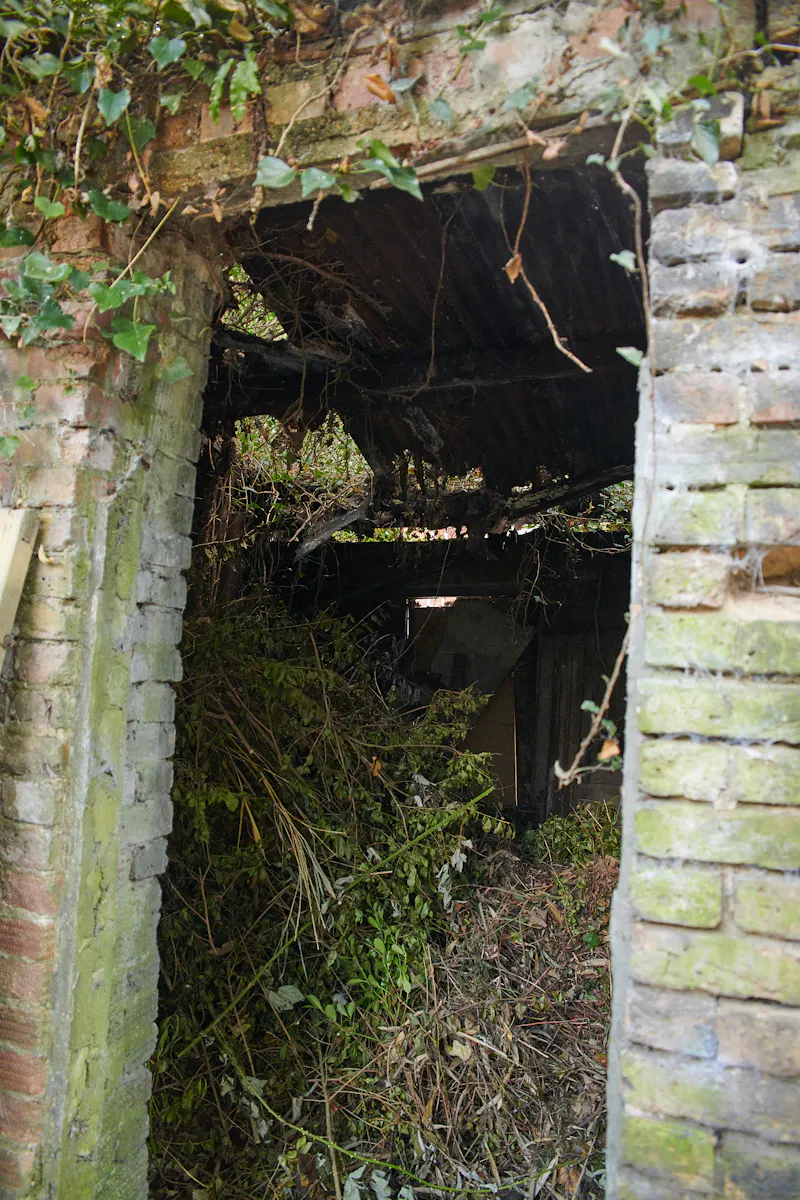
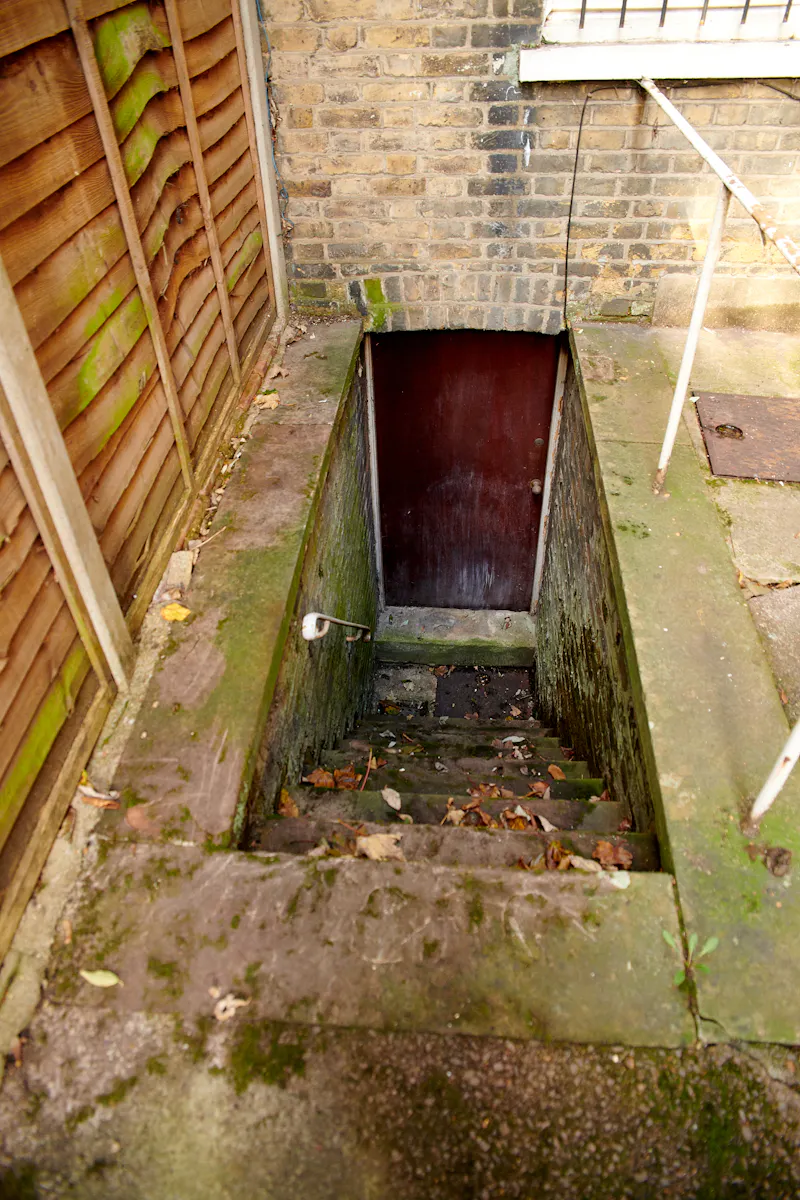
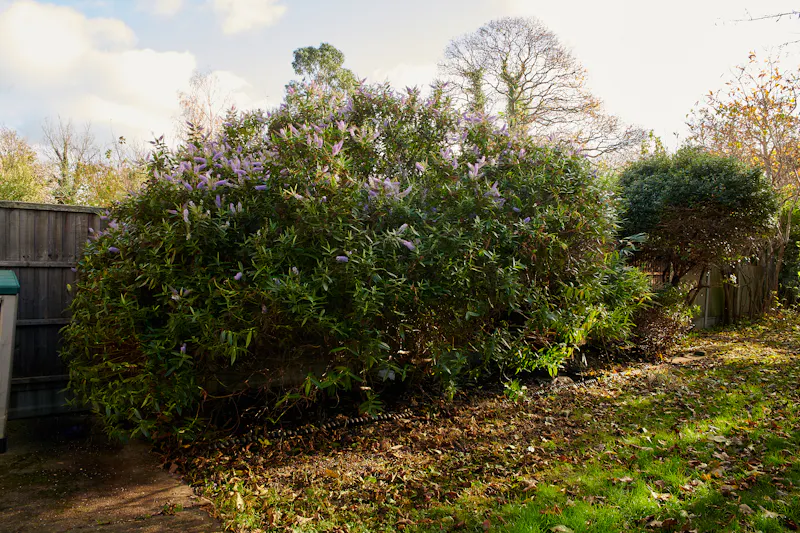
Victorian flat in Forest Gate, B1962 (photo 1)Victorian flat in Forest Gate, B1962 (photo 2)Victorian flat in Forest Gate, B1962 (photo 3)Victorian flat in Forest Gate, B1962 (photo 4)Victorian flat in Forest Gate, B1962 (photo 5)Victorian flat in Forest Gate, B1962 (photo 6)Victorian flat in Forest Gate, B1962 (photo 7)Victorian flat in Forest Gate, B1962 (photo 8)Victorian flat in Forest Gate, B1962 (photo 9)Victorian flat in Forest Gate, B1962 (photo 10)Victorian flat in Forest Gate, B1962 (photo 11)Victorian flat in Forest Gate, B1962 (photo 12)Victorian flat in Forest Gate, B1962 (photo 13)Victorian flat in Forest Gate, B1962 (photo 14)Fireplace at Victorian flat in Forest Gate, B1962 (photo 15)Victorian flat in Forest Gate, B1962 (photo 16)Kitchen at Victorian flat in Forest Gate, B1962 (photo 17)Victorian flat in Forest Gate, B1962 (photo 18)Victorian flat in Forest Gate, B1962 (photo 19)Victorian flat in Forest Gate, B1962 (photo 20)Bedroom at Victorian flat in Forest Gate, B1962 (photo 21)Victorian flat in Forest Gate, B1962 (photo 22)Victorian flat in Forest Gate, B1962 (photo 23)Victorian flat in Forest Gate, B1962 (photo 24)Victorian flat in Forest Gate, B1962 (photo 25)Victorian flat in Forest Gate, B1962 (photo 26)Victorian flat in Forest Gate, B1962 (photo 27)Bathroom at Victorian flat in Forest Gate, B1962 (photo 28)Victorian flat in Forest Gate, B1962 (photo 29)Victorian flat in Forest Gate, B1962 (photo 30)Victorian flat in Forest Gate, B1962 (photo 31)Victorian flat in Forest Gate, B1962 (photo 32)Victorian flat in Forest Gate, B1962 (photo 33)Shed at Victorian flat in Forest Gate, B1962 (photo 34)Victorian flat in Forest Gate, B1962 (photo 35)Victorian flat in Forest Gate, B1962 (photo 36)Victorian flat in Forest Gate, B1962 (photo 37)Garden at Victorian flat in Forest Gate, B1962 (photo 38)Victorian flat in Forest Gate, B1962 (photo 39)Garden at Victorian flat in Forest Gate, B1962 (photo 40)Victorian flat in Forest Gate, B1962 (photo 41)
  • Privacy Policy
  • Cookie Policy
  • Terms of Use
© 2020. Lavish Locations. All Rights Reserved.